
Mastering Conversion Tracking: A Step-by-Step Guide – 2024
1. Setting Up Conversion Tracking in GA4:
Google Analytics 4 (GA4) offers a flexible event-based tracking system.
- Events in GA4: Everything from page views to button clicks is considered an event. Navigate to the “Events” section in GA4 to define specific events as conversions.

Example: If you want to track a button with the ID “submit-request-appointment”, you’d set up an event for this button click and then mark it as a conversion in GA4.
2. Google Ads Conversion Tracking:
Track actions users take after interacting with your ads.
- Direct Tracking:
- In Google Ads, navigate to the “Conversions” section.
- Click on the “+ Conversion” button.
- Choose the “Website” option.
- Follow the instructions to set up your conversion action.
- GA4 Import:
- In Google Ads, go to “Conversions”.
- Click on “Import”, then select “Google Analytics (GA4)”.
- Choose the events you want to import as conversions.

3. Designating Primary and Secondary Conversions in Google Ads:
- Primary Conversion: Navigate to the “Conversions” section, click on the conversion action, and ensure “Include in ‘Conversions'” is turned on.
- Secondary Conversion: Navigate to the conversion action and turn off “Include in ‘Conversions'”.

4. Google Tag Manager (GTM) and Conversion Tracking:
GTM allows you to manage tags without editing your website’s code.
- Setting Up Tags in GTM:
- In GTM, click on “New Tag”.
- Name the tag (e.g., “GA4 – Button Click Event”).
- Choose the tag type (e.g., GA4 Event).
- Set up the trigger. For a button click, you’d choose “Click – All Elements” and then refine by the button’s attributes.

Example: To track a button with the ID “submit-request-appointment”, set the trigger to fire on “Click – All Elements” where the “Click ID” equals “submit-request-appointment”.
5. Conversion Linker Tag in GTM:
- Navigate to GTM and click on “New Tag”.
- Choose the “Conversion Linker” tag type.
- Set it to trigger on “All Pages”.

6. Challenges and Solutions:
- Discrepancies: Regularly compare data from both tracking methods.
- Tagging Issues: Use GTM’s preview mode to verify tags are firing correctly.
- Google Ads Errors: Ensure proper linking between Google Ads and GA4.

7. Tracking Specific Buttons:
To track a specific button, like one with the ID “submit-request-appointment”:
- In GTM, create a new trigger.
- Choose “Click – All Elements”.
- Refine by the button’s attributes, such as “Click ID” equals “submit-request-appointment”.
- Link this trigger to your desired tag.
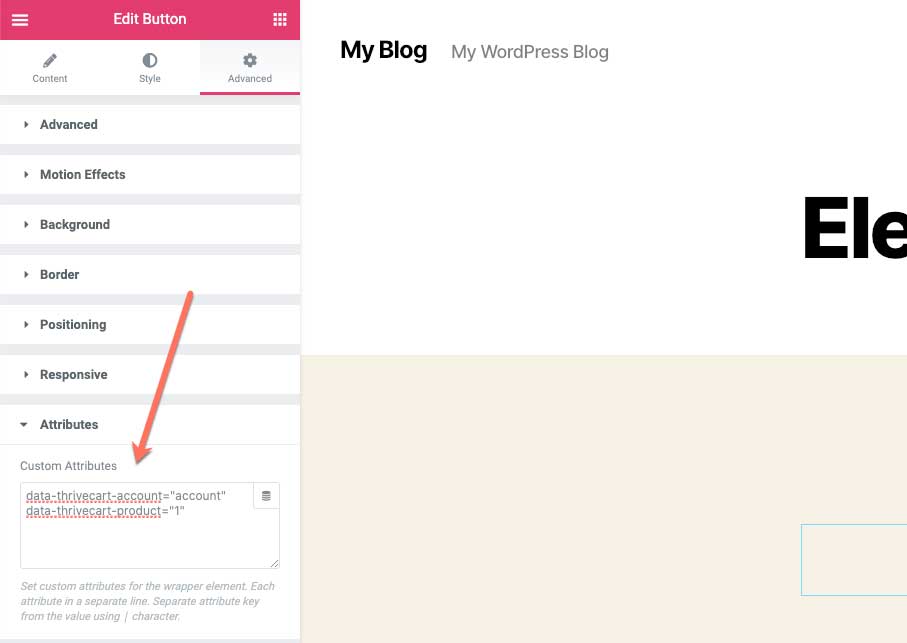
Example: If you’re using Elementor in WordPress, you can add custom attributes or classes to buttons, making them easier to track in GTM.